WordPresss on IP Address
If you already have an existing website hosted elsewhere and are looking to move to a WordPress platform this article outlines the steps you need to take to create a WordPress website while keeping your current website active.
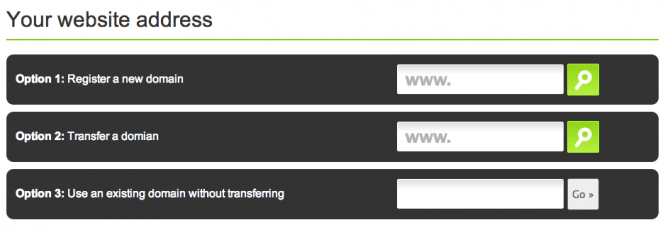
1. Purchase hosting picking the “Use an existing domain” option – This will allow us to set-up hosting without affecting your current site. See Hosting packages.

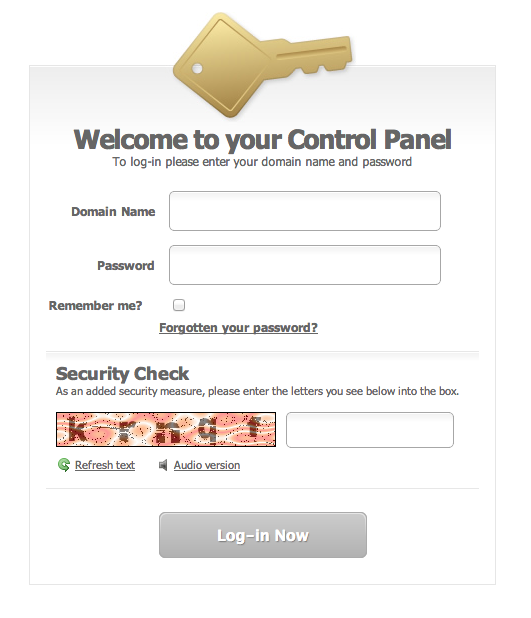
2. After hosting has been order access the control panel via extendcp.co.uk using the login details supplied.

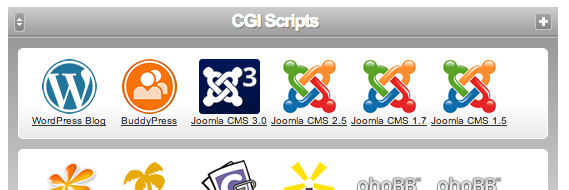
3. Once you’ve logged in you’ll have full access to the hosting control panel before your website is live. Scroll down to the CGI Scripts section where you will see an option to install WordPress.

Please note – If you want to install WordPress to the root of the site you will need to remove the default index.html file created with your hosting package first. To do this navigate to the File Manager menu option and remove the index.html file.
4. The installation script will install WordPress on the server IP rather than the web address, for example http://79.170.40.232/sgis-demo.co.uk/

5. Follow the WordPress installation steps and you will then have access to create your WordPress site via the server IP.
6. When you are happy with your WordPress site and want to make it live you can then either transfer your domain or point it towards our servers – click here for more information.
7. Once the domain has transfered or is pointing to our servers the site will be live.
8. The final step is to remove the IP from the WordPress setup. To do this go to Settings >> General and you should see two boxes with the IP address in. Just update these to the correct address and hit save.

Please note – before doing this please take a backup of the site and MySQL database as incorrect set-up can cause the site not to load. Details on how to backup are found here.
If you need any further advice please contact us.
