Self hosted WordPress
Need to know how to set-up a self-hosted WordPress site in the UK?
This guide covers what is needed in order to get a self-hosted WordPress site up and running and how to install WordPress.
Before you can self host WordPress you need to have a domain name and a hosting account that can run WordPress. Basically put, a domain name is the sites address (ours is sgis.co.uk) and the hosting is where all the files and pictures are stored online. You can order both of these products through SGIS.
For information on domain names please visit – sgis.co.uk/domains/
For information on hosting accounts please visit – sgis.co.uk/hosting/
If you have any questions or already have hosting and/or a domain name, please contact us.
Once you have a domain name and a hosting account you then need to install WordPress. There a few ways to do this, you can either manually create the site which can be tricky if you’re not familiar with doing this, or use a 1-click install script which automatically installs the required files – this is something SGIS offers with every hosting package. For details on manual installation please visit http://codex.wordpress.org/Installing_WordPress and for details on using SGIS’s installation script please follow the below steps.
Installing WordPress using SGIS’s installation script
1. Before you can install WordPress using the installation script you 1st need to remove the default index.html file which is created automatically when hosting is set-up. To do this log in the your hosting control panel via https://sgis.co.uk/secure/services/hosting or by using the details on our email to you. Once you have logged in click on the File Manager option.

2. You will now see a list of files, click on the public_html file and you will then see the below index file. Highlight the file and either click on the delete button highlighted or right click and pick delete.

3. Once the default index file has been removed go back to home page of your hosting control panel and scroll down until you see the WordPress blog option. Click on this to bring up installation options.

4. Here you can pick the directory you want to install WordPress – a directory is an area of your site, for example in the address sgis.co.uk/test “test” is a directory of sgis.co.uk. If you want WordPress to be installed to the root directory (for example sgis.co.uk and not sgis.co.uk/test) please leave the field blank. Click install and the below screen will appear. Here you can choose your site’s name and set-up signing in details. Once completed hit Install WordPress.

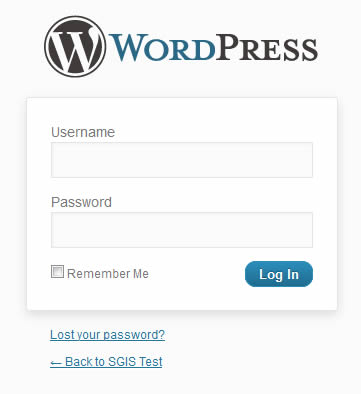
5. You are now ready to log-in to WordPress using the username and password set and start using it’s awesome features!

If you need any advice on installing WordPress please contact us.
