
How to install WordPress
Here’s a quick step-by-step guide on how to install WordPress to your SGIS hosting space. If you have any questions you can get in touch with our support team here sgis.co.uk/secure/contact-support
-
Access the hosting control panel
To log into the hosting control panel you need to visit the Manage hosting page and then click ‘sign in’ next to your website address.
-
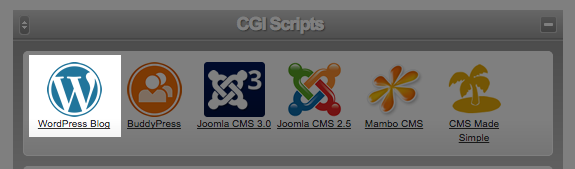
Find the install script
After accessing the hosting control panel, scroll down until you find the ‘CGI Scripts’ section and click on ‘WordPress Blog’.
-
Start the installation
This screen will let you choose which directory you want WordPress to be installed to. If you want it to appear in the root of your site (yoursite.com) then leave this field blank. If you want to install WordPress into a subdirectory, for example blog (yoursite.com/blog), enter blog into the ‘Installation Directory’ field.
Once you’ve entered the directory, or left it blank to install WordPress to root, hit ‘Install now’.

-
Setup WordPress
WordPress has now been installed. You now just need to follow one of the links to setup WordPress.
Please note: whichever link that you click will become the default URL for the site. If you go to the wrong one, for example if you need to use the temporary URL, you can change the default URL by logging in to WordPress and going to Settings->General.
